Here’s how the Assisted Self-Installation and
Repair program works.
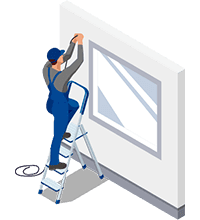
Our technicians will perform the required service work outside.

If applicable, the necessary equipment for you to complete the required steps inside will be left at your door.

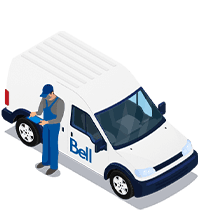
Our technicians will guide you through the steps on a voice or video call, directly from their service vehicle.
They will remain on site until your services are up and running.
Our technicians will come inside only when needed. They will practice proper sanitation and social distancing measures and wear a mask. We ask that you please do the same.
Simple steps for assisted self-installation and repair of your services.
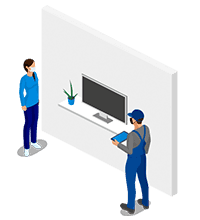
Our technicians will walk you through any work you need to do inside your home or business. Should you want to get a head start, you can familiarize yourself now with the simple instructions by selecting the appropriate service below.
Temporary TV receiver installation
Your receiver will have been pre-connected to your satellite dish. The technician will leave your receiver at the entry point you will have agreed on as well as a box containing your remote, cable and power supply. Bring the box and receiver into your home, keeping the receiver pre-connected as you do so, and our technician will walk you through the following steps:
-
1.
Plug the HDMI cable into the receiver.
-
2.
Connect the receiver to your TV using the HDMI cable provided (note which HDMI input you plug into).
-
3.
Connect the power supply to the receiver.
-
4.
Connect the other end of the power supply to a power outlet.
-
5.
Using your TV remote (not the Satellite TV remote), choose the correct HDMI input on your TV (the one you plugged into at step 2).
-
6.
When you see the screen titled ‘Point Dish’, use the provided Bell Satellite TV remote to choose ‘Check Switch’, then ‘Test’.
If you don’t see the ‘Point Dish’ screen:
- Press the ‘Menu’ button on the Bell Satellite TV remote, followed by 6,1,1.
- Choose ‘Check Switch’, then select ‘Test’.
-
7.
Once you see ‘OK’ in green on the Installation Summary screen, select ‘Done’.
-
8.
The download process will take approximately 10 minutes, then your Satellite TV guide will appear.
Once we resume full service, we will return to permanently and securely install all wires. In the meantime, please ensure they are out of the way to avoid injury or disconnecting your service.
You’re all set to go!